


Choose your interview camera setup by fixing audio and lighting first, then pick a camera that gives clean framing, reliable focus, and enough recording time. A stunning 4K camera will still look cheap under harsh ceiling lights with echoey sound. A modest camera, soft key light, clean background, and close microphone can look polished fast.
TLDR: For most professional interviews, use a mirrorless camera or high-end camcorder, a 35mm to 50mm equivalent lens, a sturdy tripod, one large soft key light, and a lavalier or shotgun microphone placed close to the speaker. For example, a solo interview in a 12 by 12 foot office can look far better by placing the subject 4 to 6 feet from the wall, setting a softbox 45 degrees from their face, and using a lav mic about 6 inches from the mouth. Expect audio to affect viewer trust more than resolution; many viewers forgive 1080p video, but they leave quickly when sound is thin, noisy, or distant.
Start With the Type of Interview You Shoot
The best interview camera is not always the most expensive one. It is the one that fits your shooting style. A CEO interview in a conference room needs a different setup than a documentary shoot in a factory or a podcast recorded at a desk.
- Remote interviews: A premium webcam or compact mirrorless camera with HDMI capture can work well.
- Corporate interviews: A mirrorless camera offers strong image quality, shallow depth of field, and flexible lens choices.
- Long event interviews: A camcorder is often safer because it can record for hours and rarely overheats.
- Documentary work: A cinema camera or mirrorless body with good stabilization, battery options, and audio inputs helps on rough locations.
The catch is that camera specs can distract you. Bitrate, color profiles, codecs, and sensor size matter, yes. But they matter less if the face is poorly lit or the mic is across the room.
Camera Body: What Actually Matters
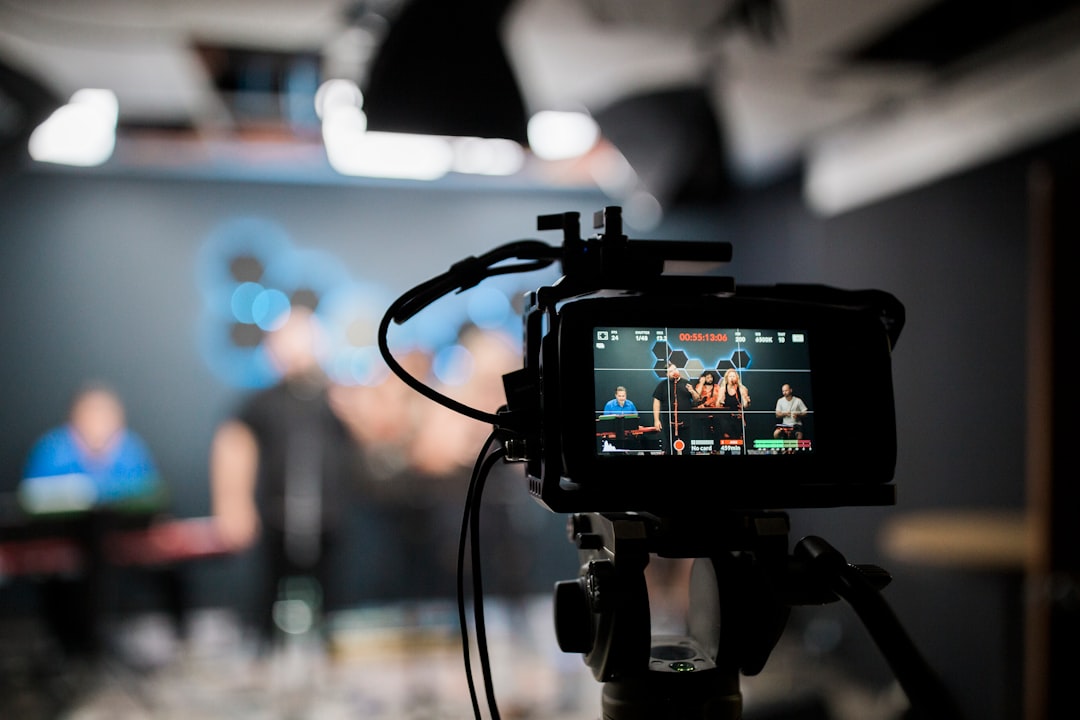
For professional interviews, look for clean HDMI output, reliable autofocus, good low-light performance, no short recording limits, and a headphone or audio monitoring option. If you shoot alone, strong face and eye autofocus can save the take. If you shoot with a crew, manual focus is often safer and more controlled.
Mirrorless cameras are the popular choice because they offer a cinematic look in a small body. Models from Sony, Canon, Panasonic, Nikon, and Fujifilm can all work well. Choose based on lens access, overheating history, battery life, and how easy the menus are during a shoot.
Camcorders are less trendy, but they are practical. They often include built-in ND filters, long zoom ranges, XLR audio inputs, and unlimited recording. For schools, churches, training teams, and live interviews, that reliability can beat a prettier spec sheet.
Webcams are best for simple desk interviews, webinars, and remote calls. Pick one with good exposure control and pair it with real lighting. A $200 webcam with proper light can beat a laptop camera by a mile.
Resolution, Frame Rate, and Color
Unreadable tech talk wastes time. Here is the simple version: shoot in 4K if you want to crop, reframe, or deliver high-end content. Shoot in 1080p if storage, editing speed, or streaming stability matters more.
For frame rate, use 24 fps for a film-style feel, 25 fps in many PAL regions, and 30 fps for business video, online courses, and YouTube interviews. Avoid high frame rates unless you need slow motion. Interviews rarely need it.
If your camera supports a flat or log profile, use it only if you plan to color grade. Honestly, it feels like some people shoot log just to make editing harder. If you need fast delivery, a good standard profile with correct white balance is cleaner and quicker.
Lens Choice and Professional Framing
Lens choice shapes the mood. A wide lens can make a room feel open, but it may distort faces. A longer lens compresses the background and gives a flattering look.
- 24mm equivalent: Good for small rooms, but can look too wide for close faces.
- 35mm equivalent: Natural for environmental interviews where the room matters.
- 50mm equivalent: A classic choice for clean single-person framing.
- 85mm equivalent: Great for a polished portrait look if you have enough space.
Place the camera at eye level. Keep the subject’s eyes near the top third of the frame. Leave a little looking room in the direction they face. Avoid placing the person flat against a wall; even 4 feet of separation can make the frame feel deeper and more expensive.
Lighting: The Fastest Way to Improve Image Quality
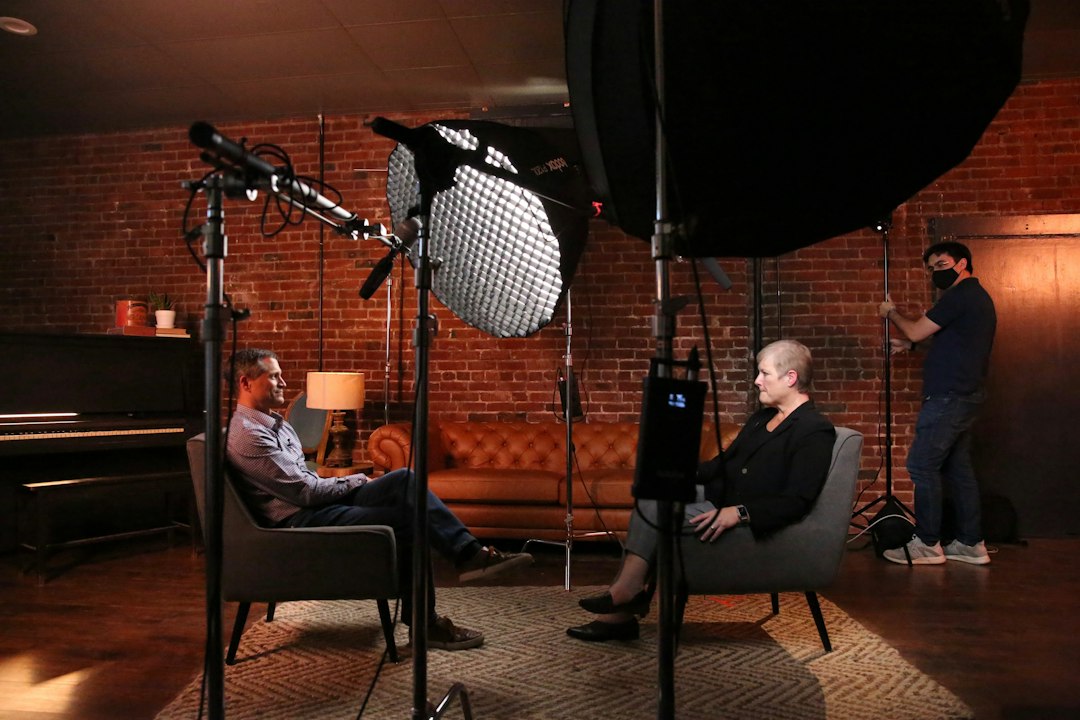
Lighting does more for your image than another camera body. Use a large, soft key light placed about 45 degrees to one side of the subject and slightly above eye level. A softbox, lantern, or LED panel with diffusion works well.
Add a weaker fill light if the shadows look too heavy. Use a back light or hair light to separate the subject from the background. If you have practical lamps in the room, place them in the background for warmth and depth.
Avoid mixed color temperatures. Daylight from a window and warm ceiling lights can make skin tones strange. Turn off overhead office lights when possible. Set white balance manually. Do not let auto white balance drift during an emotional answer.
Audio: The Part Viewers Notice When It Fails
Bad audio ruins interviews faster than bad video. Use a lavalier mic clipped to clothing, a shotgun mic on a boom, or both for backup. Put the mic close to the speaker. Distance creates room echo, fan noise, and that hollow “conference call” sound.
For one person, a wired lav is simple and reliable. For two people, give each person a separate mic and record separate tracks. Wireless systems are useful, but check batteries, interference, and clothing rustle before the real questions begin.
Set recording levels so normal speech peaks around -12 dB. Loud laughs should not hit zero. Wear headphones. It drives me crazy when teams record a perfect-looking interview and only discover a jacket scratch or air conditioner hum after the guest leaves.
Background, Set Design, and Depth
The background should support the story without stealing attention. A bookshelf, branded wall, studio curtain, office corner, or textured wall can all work. Keep clutter out. Hide cables. Remove bright exit signs, trash cans, and random water bottles.
Use depth. Put space between the subject and background. Add a small light to the rear wall or a practical lamp in the distance. If the background is too sharp, open the lens aperture a bit or move the camera farther back and zoom in.
Single-Camera vs Two-Camera Setup
A single-camera setup is compact and simple. It works well for solo interviews, testimonials, and talking-head videos. Frame carefully and keep the interviewer close to the lens so the subject’s eye line feels natural.
A two-camera setup gives you editing options. Use Camera A for the main medium close-up. Use Camera B for a side angle, wider shot, or tighter detail. This helps hide cuts, remove pauses, and shorten long answers without ugly jump cuts.
- Camera A: Main shot, eye level, strongest composition.
- Camera B: 30 to 45 degrees off-axis for a natural alternate angle.
- Audio: Record separately or into the main camera with a safety track.
Tripods, Power, and Recording Reliability
Use a solid tripod with a fluid head. Interview framing should not wobble. If you plan to punch in or pan slightly, smooth movement matters.
Power the camera with an AC adapter or dummy battery for long shoots. Use large memory cards from trusted brands. Format cards before the session. Run a 10-minute test if the room is warm, especially with compact 4K cameras.
Check for hidden problems: record limits, overheating, audio sync drift, camera standby timers, and screen dimming. Some cameras bury clean HDMI settings five menu tabs deep, which can add 30 annoying seconds every time you rebuild the setup.
A Practical Starter Setup
If you want a strong all-around kit, start here:
- Camera: Mirrorless camera with clean HDMI, good autofocus, and 4K recording.
- Lens: 35mm or 50mm equivalent prime, or a sharp standard zoom.
- Support: Sturdy tripod with fluid head.
- Light: Large soft key light with diffusion and adjustable brightness.
- Audio: Lavalier mic, shotgun mic, or both.
- Extras: Headphones, spare batteries, AC power, gray card, clamps, and gaffer tape.
Final Buying Advice
Buy the setup that reduces risk. For solo creators, that means autofocus, simple menus, and fast setup. For production teams, it means pro audio inputs, monitoring, storage, and color control. For remote interviews, it means stable USB or HDMI capture and lighting that works every time.
Professional interview quality comes from control. Control the frame. Control the light. Control the sound. Once those pieces are solid, the camera becomes what it should be: a reliable tool that helps people look and sound credible.