![How To Start a WordPress Site for Real Estate [Create Website Step-by-Step]](https://jem-products.com/wp-content/uploads/2022/06/how-to-start-a-wordpress-site-for-real-estate-create-website-step-by-step.jpg)
How To Start a WordPress Site for Real Estate [Create Website Step-by-Step]
The point of any real estate website is to list rental and sale properties visitors can browse. Your potential clients can use it to speed up the process of finding their home and buying or renting it. Having a real estate website is beneficial both for the realtor and the user.
To expand your real estate business, it makes sense to build a WordPress real estate website that is packed with features. But maybe you don’t know how or just don’t want to spend heaps of money on hiring a designer? No need to freak out.
We’ll walk you through the process of making a WordPress real estate website.
Ready to get creative?
Creating a real estate website requires careful planning and dedication. There are so probably so many questions on your mind, such as where to begin. Once the website is hosted, what should you do?
No need to worry. This entire below is a step-by-step guide on how to build a real estate website that is both practical and comprehensive. Let’s briefly go through what you’ll need to do.
Necessary steps:
- Get a Domain Name
- Choose Hosting
- Install and Set Up WordPress
- Choose a Theme
- Customize the Website
Create a Real Estate Website on WordPress (Step-by-step)
1. Get a Domain Name

Your website requires a distinctive name and address just as your home does, right? Therefore, before doing anything else, you must purchase the domain name (which serves as your website’s permanent address) and the server space (room on the server to store your data).
To get your preferred domain name for your website, you can use one of the most well-known domain registrars, GoDaddy. But in case GoDaddy isn’t your thing feel free to opt for Namecheap or Domain.com.
If the domain name is still available, you’ll see how much it costs. However, if your desired name is not available, all of the services mentioned above will give you similar suggestions. After this, just choose one, and secure a domain name for yourself.
Hint: .com domains are the most expensive and sought-after. So, if your desired name isn’t free with a .com extension, think about using .co, .io, or something similar instead.
What’s important to remember is that your company will be represented online through the domain name.
Here are a few things to think about when picking a domain name:
- It has to be easy to remember. ( If it involves people’s names, think of a catchy acronym)
- Try to keep it short and stay away from hyphens.
- Look for a name that accurately describes your company
2. Get Good Hosting

Having secured an address for yourself, the next step will enable you to get site space. Hosting is a must for any WordPress website.
Fortunately, thanks to the development of technology and the internet, there are many hosting companies that are in competition with one another and are working to improve the experience for customers. Thanks to that, there are plenty of hosting options out there and at record-breaking prices.
If you’re just starting out with WordPress, we’d recommend you use Bluehost or HostGator to start off with. Both of these hosting companies have amazing reviews, great uptime, and plans suitable for even those with the tiniest of budgets.
Hint: Even if you’re on a budget, steer clear of free WordPress hosts. More often than not, these hosts will advertise on your site or take most of the revenue in return. You’ll have less control of the site, and absolute control is one of WordPress’ best features.
3. Set Up and Install WordPress
BlueHost does offer a one-click install when purchasing their package. But if you forgot to do that, you can always simply go to WordPress.org and do everything manually.
After the installation has been completed, you can log in to your WordPress dashboard. The installation process is pretty simple, but if you encounter any problems, consult the official support page on WordPress.org.
4. Choose a WordPress theme
Now, you can try and do all the manual coding or get a developer, but it’s simply a lot easier to get a pre-made real estate WordPress theme and customize it to your liking. We’d like to recommend you purchase one that’s compatible with either Gutenberg or Elemenentor, as any of these two builders make customization easy.
Some Useful Theme Suggestions
1. RealEstate 7
Real Estate 7 is an elegant and modern theme made specifically for realtors. It offers a super handy drag-and-drop editor as well as plenty of payment options and integrations.
In addition, it’s compatible with both the builders we mentioned above.
2. Presence
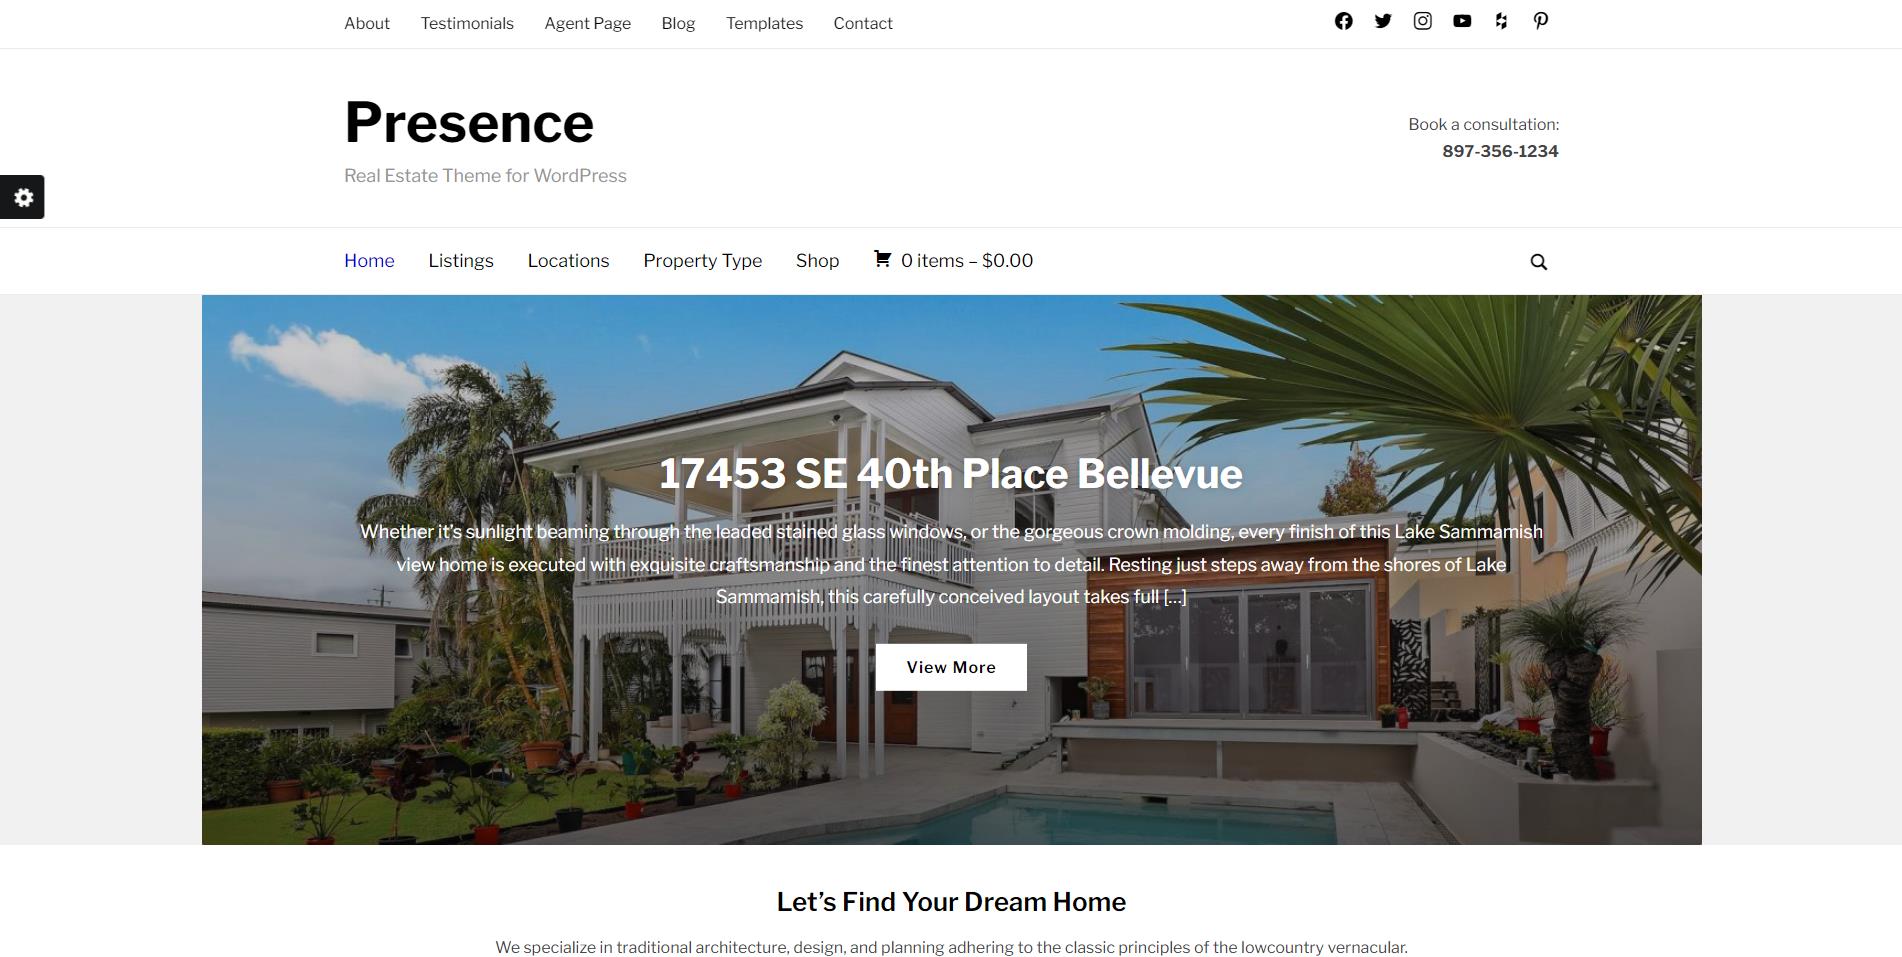
Presence was created with small company websites in mind. There are ten pre-made website designs, one of which is for a real estate agency website. Every pre-made design can be uploaded to your new site with a single click.
A listings template, agent page, search form widget, and IDX support are all included with the real estate website. Additionally, it has six color schemes, sliders, picture galleries, and personalized social media integration widgets.
3. Zakra
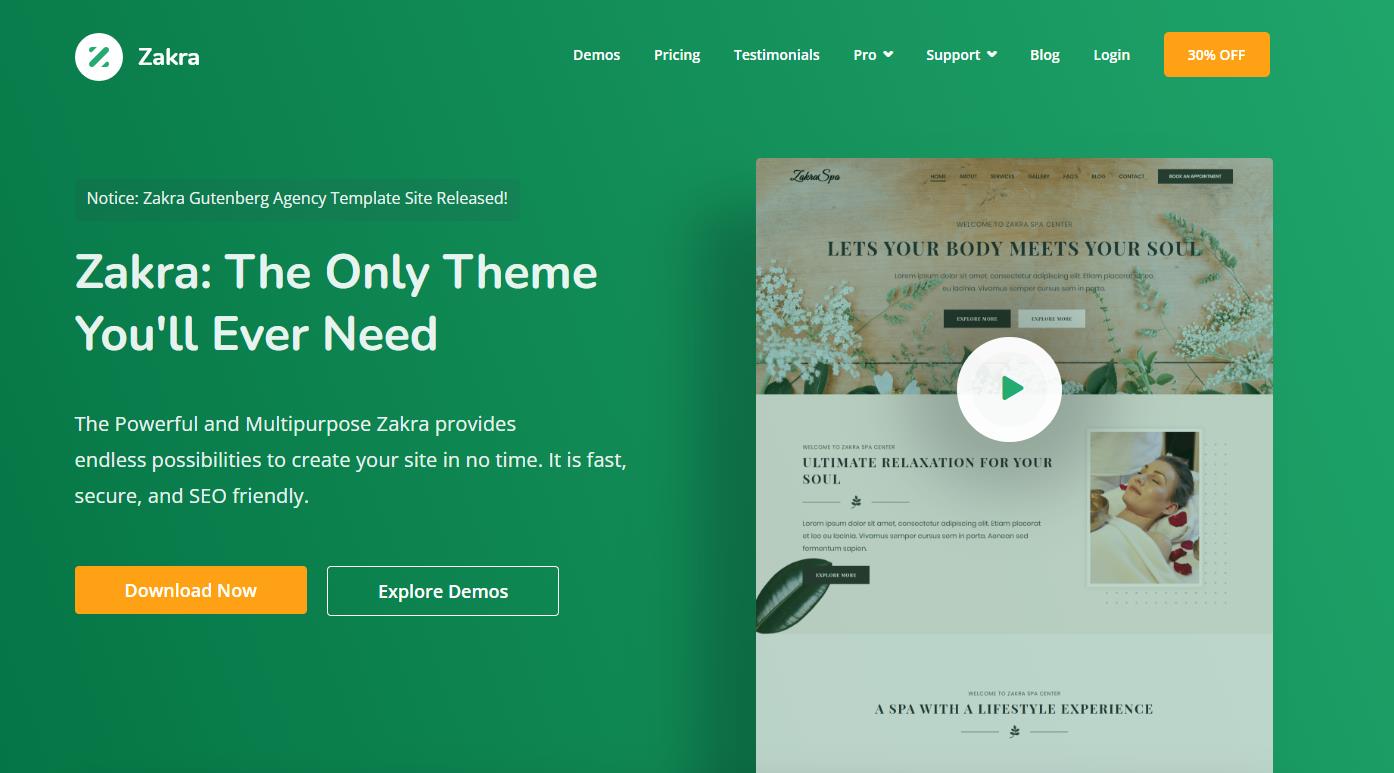
Zakra is a flexible WordPress theme that can be used to build any type of website. Due to its compatibility with drag-and-drop website builders, customization is simple.
Additionally, it includes 65+ pre-built demo sites that can be used to build any type of website. And even if it wasn’t created for real estate websites specifically, it does offer a ready-to-use real estate template.
Installing the Theme
Now, it’s time to install the theme you choose. Go to “Appearance” and choose “Themes” after logging into your WordPress admin page.
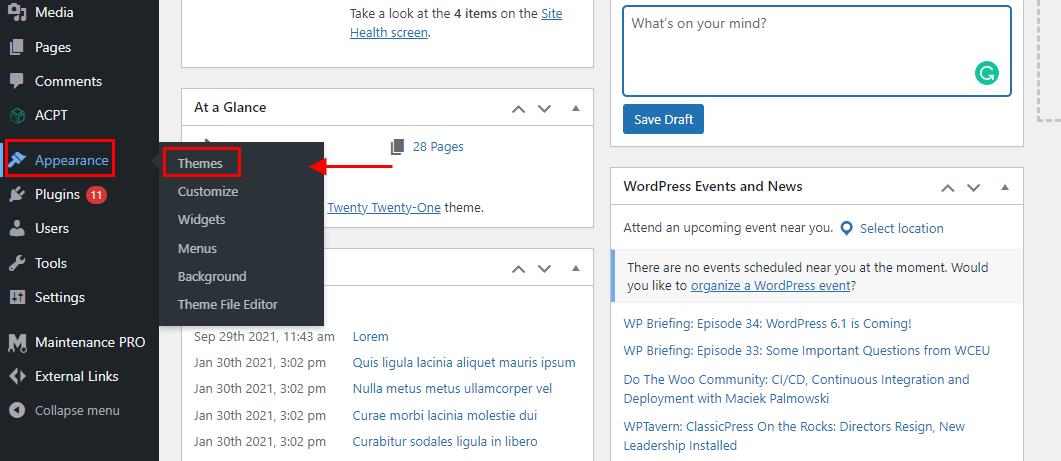
Click “Add New” to include a theme. You can add a new theme in one of two ways from this page. If you are certain of the theme’s name, look it up in the Theme directory. If you’re unsure of the name of your desired theme, use the Feature Filter to narrow down your options, then check any applicable tags and click.
“Apply Filter” to get a screen of themes that match your search parameters. Hover over a theme to reveal its choices.
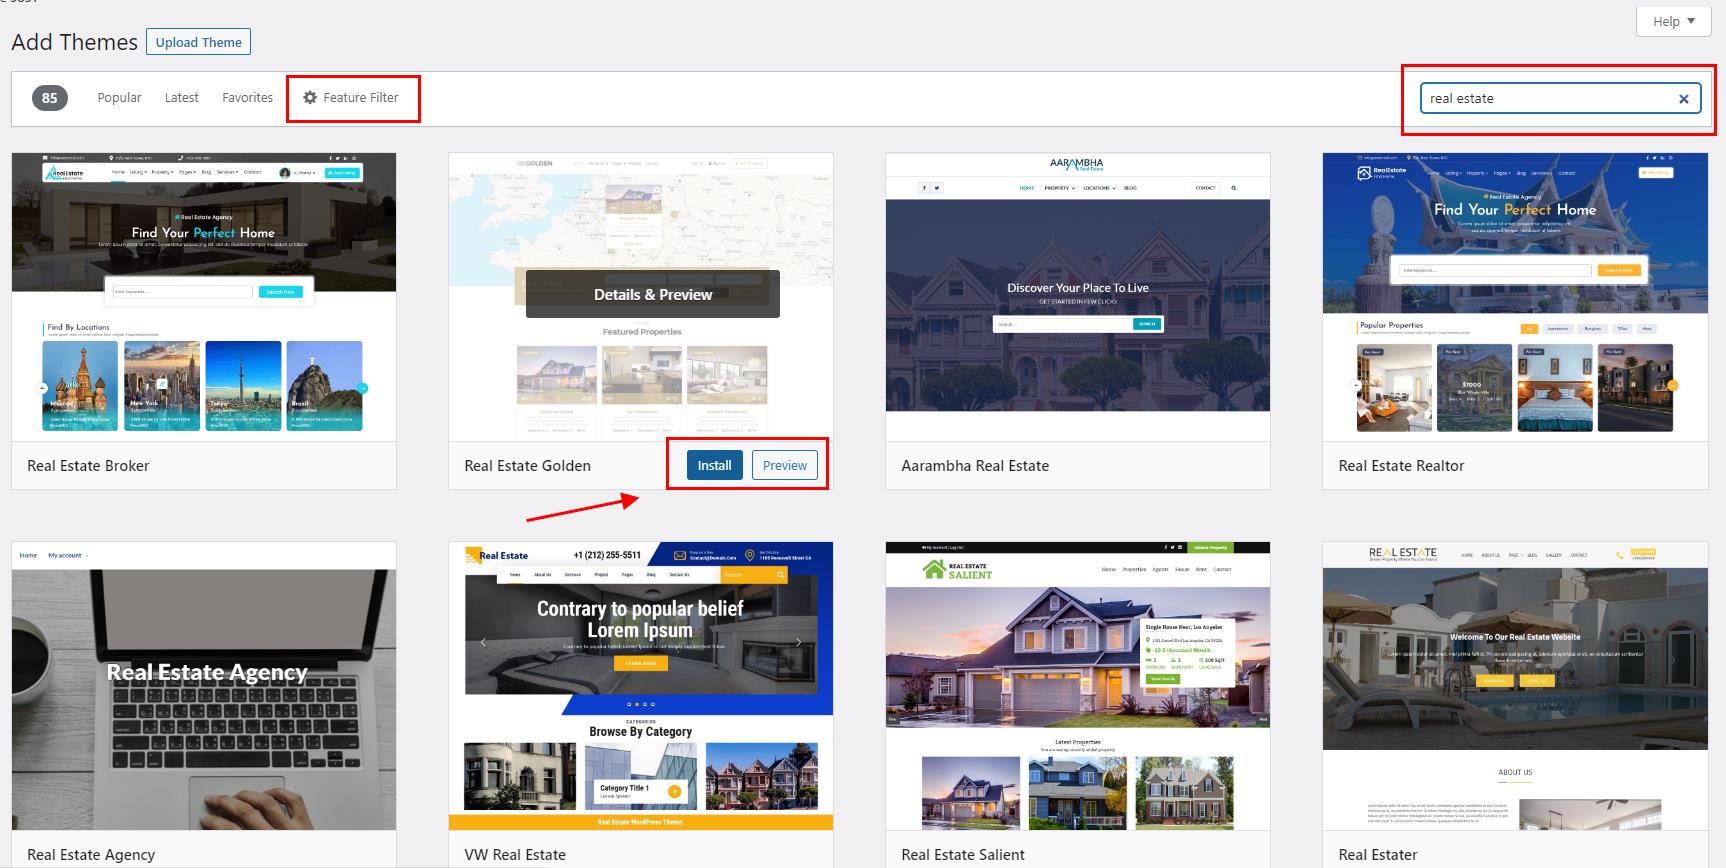
When you’re ready, click the “Install” button to install the theme or select “Preview” to get a demo of it. Activate the installation by clicking the link. And that’s it. You’re done.
5. Site Customization
From here, you can do as much or as little as you’d like. We’d recommend you browse some other real estate websites to see what you wish to include in yours. However, there are some pages and elements every relator’s website should have, so allow us a few more suggestions.
Separate Pages to Include:
- A search page with filters – Make sure your users find what they want. Create a page with all of your listings and add filters like rent/buy, max budget, desired neighborhood, and room number.
- Our Services – A detailed page that explains the services you offer to both the sellers and the buyers.
- Resources Page – This is a page you can use to help people along their buying journey by adding elements like mortgage calculators, market trends, etc. This page is often also used to advertise open houses.
Features to include:
- Personalized newsletter – Create a form for interested parties to fill out and receive word of any new listings they might be interested in.
- Contact form – Make sure to add a button that allows any new visitors to contact you or any of your teammates by email straight from the site.
- Map – Every listing should be accompanied by a pin of its exact location, or if you’re worried about security and privacy, there’s always the option to only add the approximate location.
Hint: When it comes to improving your site or just launching it for the first time, consider taking advantage of the SEO benefits of a coming soon page.