


Color can be loud. Color can be shy. Sometimes your photo needs a tiny color nudge, not a full makeover. That is where the Photoshop Sponge Tool walks in, wearing bright shoes and carrying a very small paintbrush.
TLDR: The Photoshop Sponge Tool lets you paint over parts of an image to make colors more intense or more faded. For example, you can make a red apple look 30% richer without touching the background. It is quick and fun, but it can damage pixels if you use it directly on your image. For cleaner edits, try adjustment layers, masks, Camera Raw, or Lightroom-style tools.
What Is the Photoshop Sponge Tool?
The Sponge Tool is a Photoshop tool that changes color saturation. In simple words, it makes colors look stronger or weaker.
Think of it like a color volume knob. Turn it up, and the color gets louder. Turn it down, and the color gets calmer.
You can find it in the toolbar. It shares a spot with the Dodge Tool and Burn Tool. If you do not see it, click and hold that tool group. The Sponge Tool may be hiding there like a shy crab.
It has two main modes:
- Saturate: This makes colors brighter and stronger.
- Desaturate: This removes color and makes areas look more gray.
You paint with it using a brush. Wherever you brush, the color changes. That is the whole magic trick.
What Does the Sponge Tool Actually Do?
The Sponge Tool changes the saturation of pixels. Saturation means color strength. A highly saturated blue looks rich and bold. A low saturated blue looks soft, pale, or gray.
Here are simple examples:
- Make a dull sky look more blue.
- Make green leaves look fresh.
- Make lipstick pop in a portrait.
- Fade a distracting red sign in the background.
- Create a dreamy washed-out photo effect.
It is great for small areas. It is not great for huge edits. If you drag it all over the image like a wild raccoon, things can get messy fast.
How to Use the Sponge Tool
Using the Sponge Tool is easy. The hard part is not overdoing it.
- Open your image in Photoshop.
- Select the Sponge Tool from the toolbar.
- Choose Saturate or Desaturate in the top options bar.
- Pick a soft brush.
- Set the Flow low, such as 10% to 20%.
- Brush gently over the area you want to change.
Flow controls how strong each brush stroke is. Low flow is safer. It lets you build the effect slowly. High flow is like pouring hot sauce on your lunch without checking the bottle first.
There is also a setting called Vibrance. When checked, Photoshop tries to protect colors from becoming too intense. It is usually a good idea to turn it on.
When Should You Use It?
The Sponge Tool is best when you need a quick local edit. Local means one small part of the image.
Good uses include:
- Product photos: Make fruit, shoes, or fabric look more colorful.
- Portraits: Boost eye color or soften red skin patches.
- Travel photos: Bring life back to skies, flowers, or street art.
- Creative edits: Make one object colorful and the rest muted.
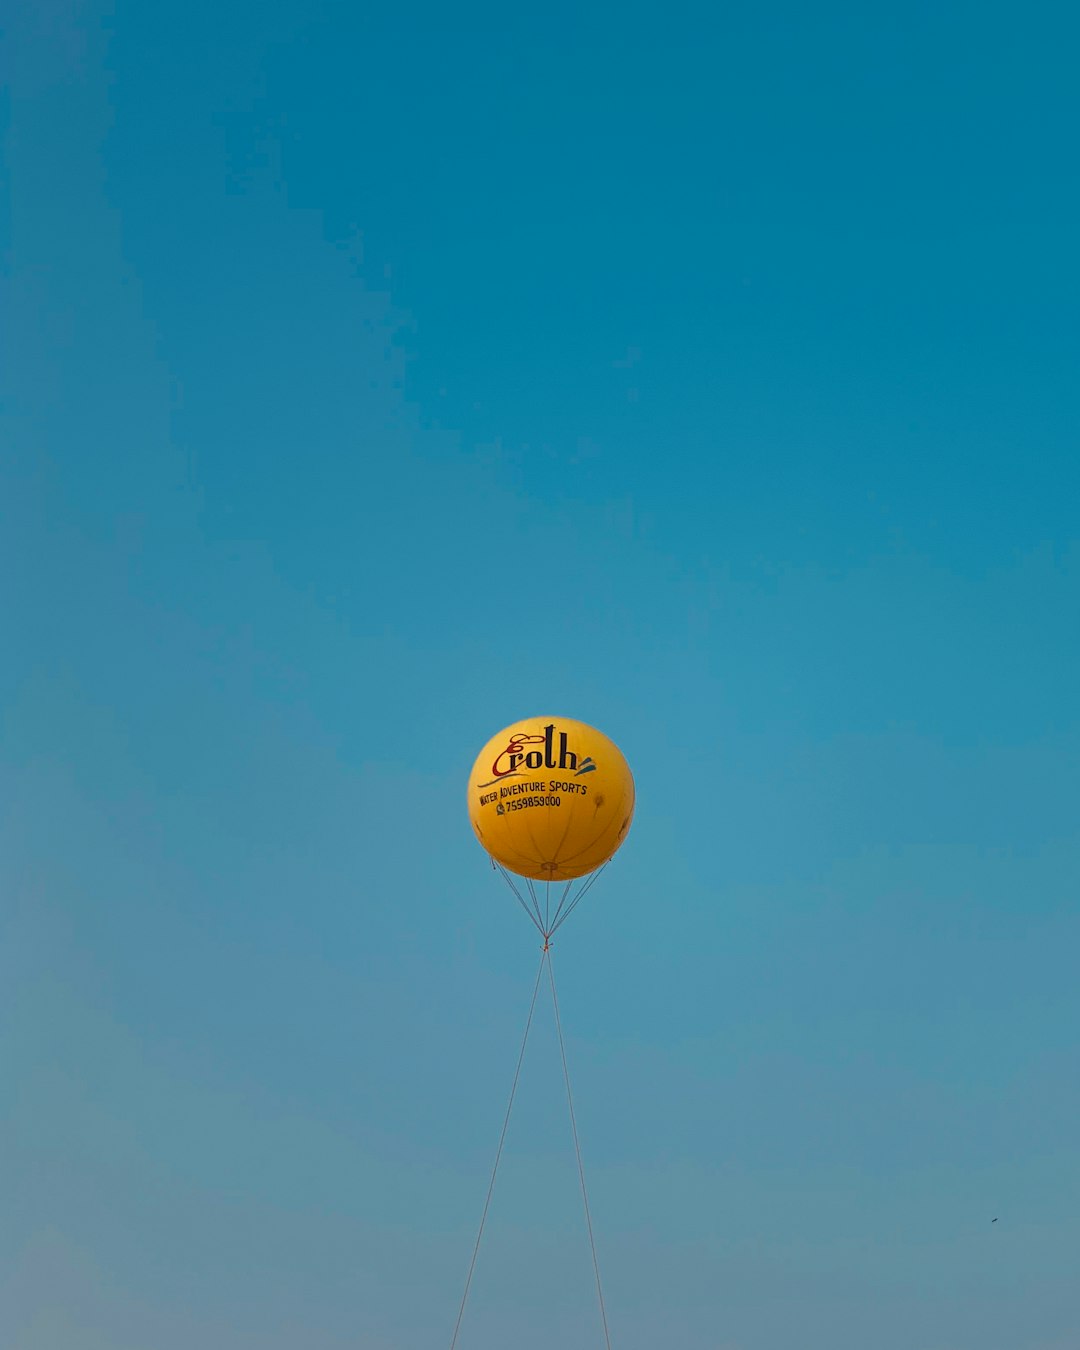
Imagine a photo of a child holding a yellow balloon. The balloon looks dull because the day was cloudy. You can use the Sponge Tool in Saturate mode and brush only the balloon. After a few strokes, the balloon becomes sunny again. The rest of the photo stays natural.
The Big Problem: It Can Be Destructive
Here is the tiny monster under the bed. The Sponge Tool can be destructive.
That means it changes the actual pixels on your image layer. If you save and close the file, those changes may be hard to undo later.
This is why many editors avoid using it directly. It is fast, yes. It is simple, yes. But it is not always flexible.
You can protect yourself by duplicating the image layer first. Press Ctrl + J on Windows or Command + J on Mac. Then use the Sponge Tool on the copy. If things get weird, delete the copy. No tears. No drama.
Best Alternative 1: Hue/Saturation Adjustment Layer
A Hue/Saturation adjustment layer is one of the best alternatives. It is clean. It is flexible. It does not harm the original image.
You can increase or decrease saturation for the whole photo. Even better, you can use a layer mask to apply the effect only where you want it.
For example, you can boost only the blue sky. Or mute only a red jacket. You can also come back later and change the settings. That is a huge win.
Best for: Controlled edits, color corrections, and selective saturation.
Best Alternative 2: Vibrance Adjustment Layer
The Vibrance adjustment is like saturation with manners. It boosts weaker colors more than already strong colors. It also helps protect skin tones.
This makes it great for portraits. If you use regular saturation, faces can turn orange fast. Nobody wants to look like a carrot with eyebrows.
Vibrance gives you a softer and smarter result. It is perfect when the whole image feels flat.
Best for: Portraits, travel shots, lifestyle photos, and natural color boosts.
Best Alternative 3: Camera Raw Filter
The Camera Raw Filter gives you powerful color controls. You can adjust saturation, vibrance, texture, clarity, and more.
It also has a color mixer. This lets you control specific colors. You can make only the greens richer. Or make only the oranges softer.
This is much better than blindly brushing color around. It feels more like driving with a map.
Best for: Full photo edits, raw files, landscapes, and detailed color control.
Best Alternative 4: Selective Color
Selective Color is a more advanced option. But do not be scared. It just lets you adjust color groups, such as reds, yellows, greens, and blues.
It is very useful when one color feels wrong. Maybe the grass looks too yellow. Maybe the skin looks too red. Selective Color helps you fix that without poking every pixel.
Best for: Professional color correction and careful edits.
Best Alternative 5: Layer Masks and Soft Brushes
Sometimes the best alternative is a mix of tools. Create an adjustment layer. Then use a soft brush on the mask.
This gives you the same painted feeling as the Sponge Tool. But it is non-destructive. You can erase, lower opacity, or change the color settings later.
It is like using the Sponge Tool with a safety helmet.
Sponge Tool vs Alternatives
- Sponge Tool: Fast and simple, but risky on original pixels.
- Hue/Saturation: Better control and easy to edit later.
- Vibrance: Great for natural color boosts.
- Camera Raw: Best for detailed photo editing.
- Selective Color: Best for precise color fixes.
- Adjustment layers with masks: Best overall workflow.
Quick Tips for Better Results
- Use a soft brush for smooth changes.
- Keep Flow low.
- Do not brush the same spot too many times.
- Zoom out often to check the full image.
- Duplicate your layer before editing.
- Use adjustment layers when possible.
Final Thoughts
The Photoshop Sponge Tool is fun. It is simple. It can save a boring color in seconds. For tiny fixes, it works well.
But it is not always the best tool for serious editing. If you want more control, use adjustment layers, Vibrance, Camera Raw, or Selective Color. These tools let you change your mind later. That matters.
So use the Sponge Tool like candy. Enjoy it, but do not eat the whole bag. A little color boost can make a photo shine. Too much can make it scream.