1. Home
  2. /
  3. KnowledgeBase
  4. /
  5. Order Export Pro
  6. /
  7. How to Customize Your WooCommerce Order Export

Customizing the WooCommerce Export

One of the most powerful features of the plugin is the ability to use code to modify the export. This is an amazing feature as it allows you to modify the actual data that gets exported. 

The things you can with it are limited only by your imagination!

Introduction

The basic way this feature works is we provide hooks for each field. In this way you can attach to the appropriate hook and then modify the output. If you are not familiar with hooks/filters take a look ate the WordPress documentation here.

This obviously provides amazing flexibility depending on exactly what you want to do

Entering the Code

The code is entered in the “Report Format & Output” section (see below). This section is accessed from the main “Export Data” tab. If you are using our PRO version and have access to Scheduled Exports, then you can also add custom code to the same sextion inside each Scheduled Export

Where to enter code

Inside this section you will see an area called “Custom Code’ – this is where you need to actually enter the code

Entering Code

Finding the Field Hook Name

Finding out the name of the field, so you can attach to the correct hook, is super easy. In the “Fields to Export” section, when you have selected fields to include in your export, you will see a question mark next to each field name. Simply hover your mouse over the question mark and you will see the field name – see the image below for an example.

how to find the field name

Determining the Hook Name

SIn the example above you can see the field name is order_id. The hook name is simply

jem_export_field_{FIELD NAME}

 Simply replace the text “{FIELD NAME} with the name of the field. So continuing our example the hook is

jem_export_field_order_id


Putting It All Together

Now we know the hook name we can actually create the hook and associated function.

In this example we will add the text “order id-” to the front of the order ID.

add_filter('jem_export_field_order_id','jem_export_field_order_id_callback',10,3);
function jem_export_field_order_id_callback($value,$order_details,$item){
return "order id-".$value;
}

Basically what the first line does is register the function with the hook.

The function gets called right before we write out the field – in this case adding in the text “order id:”

The result in Excel looks like this

modified output

As you can see the Order ID has been modified. This is a simple example but it shows how easy it is to customize the output

Adding Extra Fields

There are occasions when you do not want to modify an existing field but you want to create a new column in your export. For example you may simply want to add a fixed value in a column, or you may want to perform something more in-depth. In this case rather than add an existing column you will want to add a new custom columnWe have thought of that and have a solution!

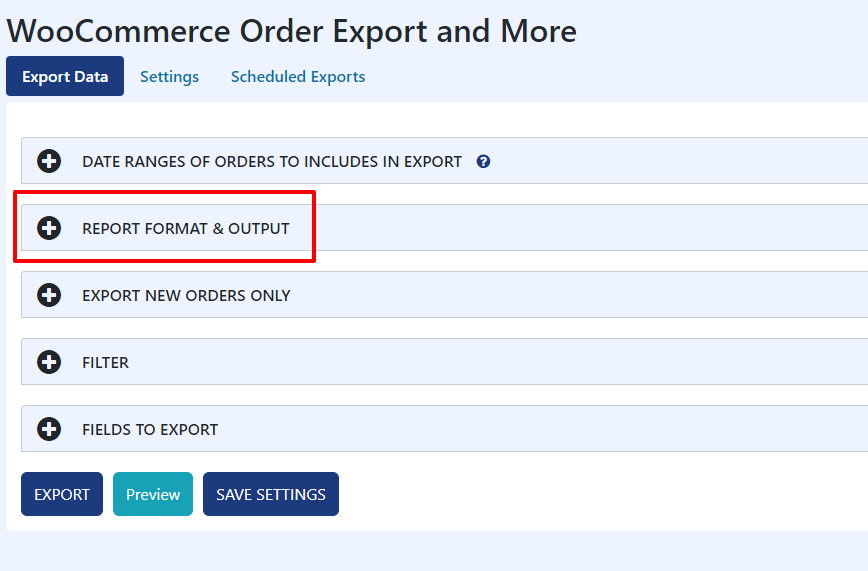
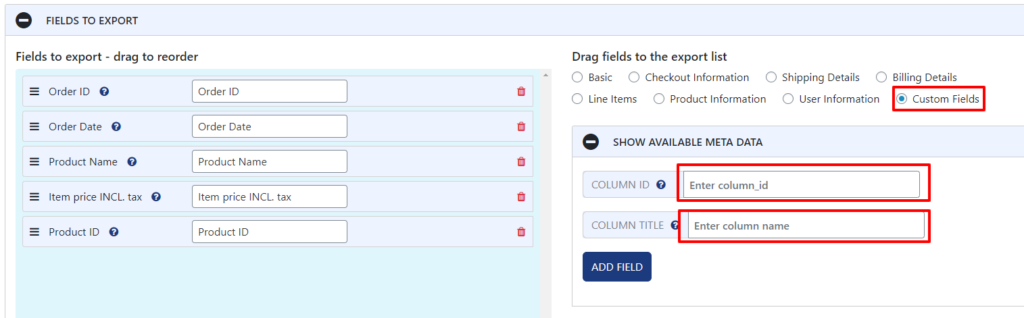
In the “Fields to Export” section select the “Custom Fields” Radio button

This will then show a two text boxes, Column ID and Column Title

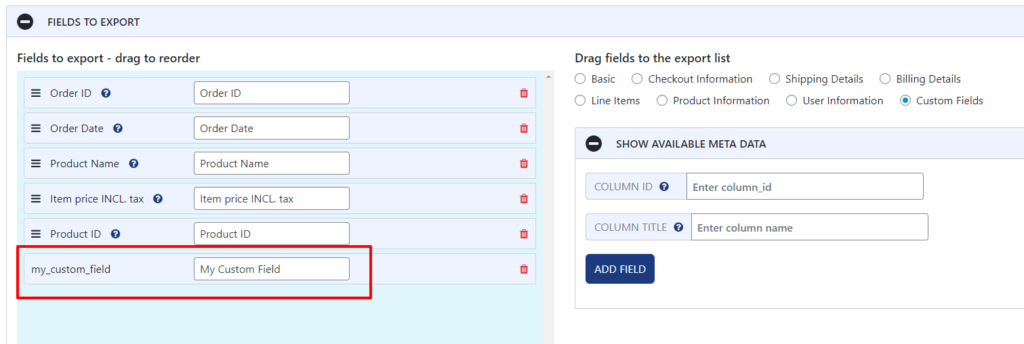
Column ID is the identifier you will use for the hook. For example if you name this field my_custom_field then the hook will be jem_export_filed_my_custom_field

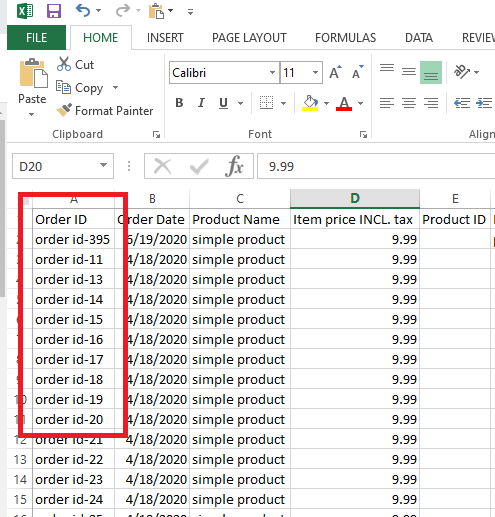
The Column Title is the column header that will be inserted at the top of the column in Excel.


Adding a Custom Field

Once you have entered the Column ID and the Column Title, simply click the “Add Field” button and the field will be inserted into the list of fields being exported on the left – see below

Custom Field Added

Summary

Customizing your export is easy and simple – you can create very sophisticated exports that save you time, effort and money!

Share this post

Share on facebook
Share on google
Share on twitter
Share on linkedin
Share on pinterest
Share on print
Share on email
Scroll to Top
Scroll to Top