Every email carries a behind-the-scenes travel record. While the message you see may only show a sender name, subject line, and time stamp, the technical details can reveal the route that email took across mail servers. If you know where to look, you may be able to find an IP address connected to the message and use it to understand whether the email is legitimate, suspicious, or simply routed through a common mail provider.
TLDR: To check the IP address of an email, open the message’s full headers, look for the earliest reliable Received line, and identify the IP address listed there. Then use an IP lookup tool to learn general information such as the provider, region, or mail server owner. Keep in mind that many modern email services hide the sender’s real IP address, so you may only see the IP of Gmail, Outlook, a company mail server, or another email platform.
Why Email IP Addresses Matter
An email IP address can be useful when you want to investigate where a message came from. For example, if you receive a strange password reset alert, a fake invoice, or a message that appears to be from a familiar company, the email headers may help you spot warning signs.
However, it is important to understand what an IP address can and cannot tell you. An IP address does not usually reveal a person’s exact home address. In many cases, it only points to an internet service provider, a hosting company, a business mail server, or a large email service. Still, that information can be valuable when checking whether a message came from an expected source.

What Is an Email Header?
An email header is the technical information attached to a message. It includes routing details, authentication results, sender and recipient data, timestamps, and server information. Most email apps hide this by default because it looks complicated, but you can usually view it with a few clicks.
The most important part for IP checking is usually the set of lines starting with Received:. Each mail server that handles the message adds one of these lines. Think of it like a chain of stamps on a package: every stop leaves a mark.
How to View Full Email Headers
The exact steps depend on your email service or app. Below are common places to find full headers.
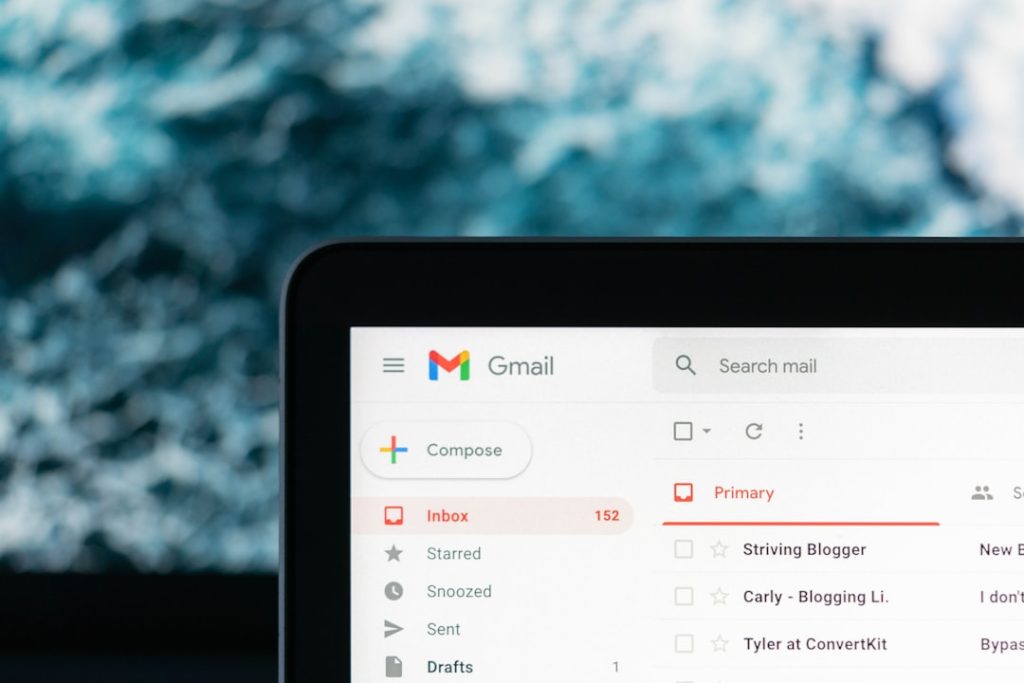
In Gmail
- Open the email you want to inspect.
- Click the three dots near the top right of the message.
- Select Show original.
- A new page will open with the full message source and authentication details.
- Search for Received: or look for IP addresses inside square brackets, such as [203.0.113.25].
In Outlook on the Web
- Open the message.
- Click the three dots or More actions menu.
- Select View, then View message source, if available.
- Review the header text for Received lines and IP addresses.
In Outlook Desktop
- Double-click the email to open it in a separate window.
- Go to File.
- Select Properties.
- Look for the Internet headers box.
- Copy the header text if you want to inspect it more easily in a text editor.
In Apple Mail
- Open the email.
- Click View in the menu bar.
- Choose Message.
- Select All Headers or Raw Source.
How to Find the IP Address in the Header
Once you have the header open, the challenge is knowing which IP address matters. Headers can contain several IP addresses because emails often pass through multiple servers.
Look for lines that begin with Received:. They often look similar to this:
Received: from mail.example.com (mail.example.com [203.0.113.25])
by mx.google.com with ESMTPS id abc123
for <you@example.com>; Tue, 21 May 2026 10:14:22 -0700
In this example, the IP address is 203.0.113.25. The domain shown next to it may indicate the sending mail server.
Here is the tricky part: Received lines are usually ordered newest first. The top line often shows the last server that handled the email before it reached your inbox. To find the original source, you typically look lower in the list for the earliest trustworthy entry.
That said, be cautious. Some header information can be forged, especially lines added before the message reaches a reputable mail server. The most reliable entries are usually the ones added by trusted providers such as Google, Microsoft, Yahoo, or your company’s mail system.
Using an IP Lookup Tool
After you identify a likely IP address, you can search it using an IP lookup or WHOIS service. These tools may show:
- ISP or hosting provider: The company that owns or manages the IP address.
- Approximate location: Usually a country, region, or city, but not always accurate.
- Organization name: Sometimes a business, cloud provider, or email service.
- Reputation data: Some tools indicate whether the IP has been reported for spam or abuse.
If a message claims to come from your bank, but the sending server appears to belong to an unrelated hosting provider in another country, that may be suspicious. On the other hand, many companies use third-party email services for newsletters, billing notices, and support messages, so the IP address alone is not proof of fraud.
Why You Might Not See the Sender’s Real IP
Years ago, personal email headers sometimes revealed the sender’s actual IP address. Today, that is much less common. Major email services often remove or mask the sender’s device IP to protect privacy.
For example, if someone sends you a message from Gmail, you will usually see Google mail server IPs rather than the sender’s home or office IP. The same is often true for Outlook, Yahoo, iCloud, and many workplace email systems. This means checking the IP address of an email is more about tracing the mail system than identifying a specific person.
How to Tell If an Email Is Suspicious
The IP address is only one clue. To make a better judgment, combine it with other checks:
- Check the sender address carefully: Look for misspellings, extra characters, or lookalike domains.
- Review authentication results: Headers may show SPF, DKIM, and DMARC results. Passing results are a good sign, though not a complete guarantee.
- Compare the domain and server: A legitimate company email should generally align with a domain or authorized mail service.
- Be careful with links: Hover over links before clicking, and avoid signing in through links in unexpected messages.
- Watch the tone: Urgent threats, unusual requests, and unexpected attachments are common phishing signals.

Common Mistakes to Avoid
One common mistake is assuming that the first IP address you see is the sender’s real location. It may simply be a relay, spam filter, newsletter platform, or cloud server. Another mistake is trusting every line in the header equally. Some parts of a header can be manipulated, while others are added by systems you trust.
Also, do not treat IP geolocation as exact. IP lookup tools can be wrong or outdated. A result showing a different city or country may be meaningful, but it should be considered alongside other evidence.
What to Do With a Suspicious Email
If the email looks unsafe, avoid replying, downloading attachments, or clicking links. Instead, report it using your email provider’s Report phishing or Report spam option. If it appears to come from a company you use, go directly to that company’s official website or app rather than using links in the message.
For workplace emails, forward suspicious messages to your IT or security team. Include the full headers if they ask for them, because headers give security analysts more information than a screenshot alone.
Final Thoughts
Checking the IP address of an email is a useful skill, especially if you want to understand whether a message is trustworthy. The key is to open the full headers, examine the Received lines, identify the most relevant IP address, and interpret it carefully. While modern privacy protections often prevent you from seeing the sender’s actual device IP, email headers can still reveal valuable clues about routing, mail servers, and possible fraud. Used with other security checks, this small technical detail can help you make smarter decisions before you click, reply, or trust what lands in your inbox.