Creating polished, professional client proposals is a critical component in winning business and showcasing the capabilities of your organization. One key aspect often overlooked is how these proposals are printed, assembled, and presented. Particularly, understanding the ins and outs of collate printing can drastically improve your workflow and the final output. In this article, we’ll dive into what collated printing entails, its advantages for client proposals, how to set up an efficient workflow, and the best binding methods to create impressive, presentation-ready documents.
What Is Collate Printing?
Collate printing refers to the method where multi-page documents are printed in sets, with all pages arranged in the correct order. For example, in a five-page proposal that you need to print ten times, collate printing ensures each full set prints as: 1-2-3-4-5, repeated ten times. Non-collated printing, by contrast, groups each page together by type: all page ones, then all page twos, and so forth.
This may seem like a small distinction, but when you’re preparing multiple copies of a detailed proposal, choosing to collate can save time and reduce errors in manual sorting—especially when binding and distributing multiple versions for different stakeholders.
Why Collated Proposals Matter
Collated printing isn’t just a logistical decision—it’s about professionalism and time management. Below are a few compelling reasons to collate printed proposals for clients:
- Efficiency: Save time by automating the order of pages in each copy of your proposal.
- Consistency: Guarantee that each stakeholder receives the same, correctly ordered document.
- Reduced Errors: Minimize human mistakes that often occur during manual collation.
- Professional Appeal: Well-organized proposals stand out and reflect positively on your brand.
If you’re pitching to multiple clients or departments, collated proposals ensure seamless customization without needing to sort hundreds of pages by hand.
Setting Up Your Workflow: Step-by-Step
Collating and assembling professional proposals can be broken down into a series of streamlined steps. Here’s a practical workflow to follow:
1. Prepare Your Document
Before printing, make sure your document is final, proofread, and well-organized. Using consistent fonts, styles, and headers not only improves readability but also ensures accurate collation and binding.
2. Choose the Right Print Settings
When you’re ready to print:
- Select “Collate”: This option is usually found in your printer settings dialogue box. Check the visual preview to confirm the final order.
- Adjust Color & Quality: High-quality printing can significantly enhance diagrams, charts, and branding elements in your proposal.
- Paper Type & Size: Choose premium paper that supports vibrant color reproduction and adds a tactile sense of quality.
3. Proof a Single Copy
Always print a test copy before batch printing. This single step can help catch layout or alignment errors that may not be apparent on-screen.
4. Batch Print in Sets
Once your proof looks good, proceed with printing all document sets. Let the printer handle the collation and remove the need for manually stacking and sorting pages.
Binding Choices That Make a Difference
Binding is the finishing touch that elevates your proposal from a set of stapled pages to a high-impact presentation. When choosing a binding method, consider your audience, purpose, and how the document will be used. Here are several professional binding options worth considering:
1. Comb Binding
This classic and cost-effective method uses a plastic spine and offers the benefit of laying flat on a table. It’s great for internal meetings and mid-level proposals.
2. Wire Binding
Wire-bound documents are sleek and offer a more upscale look compared to comb binding. They also lie flat and are especially effective for client-facing proposals where brand perception matters.
3. Perfect Binding
For a true “bookstore” feel, perfect binding glues the document together at the spine with a square finish. Ideal for high-value proposals or thick documents of 40+ pages.
4. Saddle Stitching
Binding with staples down the center spine works well for short proposals or brochures. It’s affordable and gives a clean, tidy appearance.
Tips for Enhanced Professionalism
Not all proposals are created equal. To stand out, consider these extra tips for producing a visually appealing and organized proposal:
- Use Tabs or Dividers: If your proposal covers multiple sections or departments, dividers can easily guide the reader and make for quick referencing.
- Include a Cover Page: Design a branded cover page with your company logo, client’s name, and proposal title.
- Add a Table of Contents: A TOC not only directs the reader but also adds polish and structure.
- Use High-Resolution Images: Visual elements such as charts, photos, and icons should be crisp and professionally formatted.
- Print Double-Sided: It reduces paper usage and offers a modern feel, though you’ll need to ensure content flows correctly on both sides.
Digital Backups and Hybrid Proposals
Even in a print-centric process, it’s worth offering a digital backup of your proposal. Clients appreciate the convenience of a searchable PDF, especially for sharing across departments or when traveling. Some organizations combine digital with printed materials in a hybrid proposal strategy—for example, printing the executive summary and core sections, while providing technical appendices in a digital addendum.
This hybrid approach strikes a balance between readability, portability, and professionalism. Make sure the digital version aligns exactly with the print layout to avoid confusion.
Printer and Software Tools That Help
Technology can work in your favor when managing large-scale proposal printing. Here are a few tools and strategies to enhance efficiency:
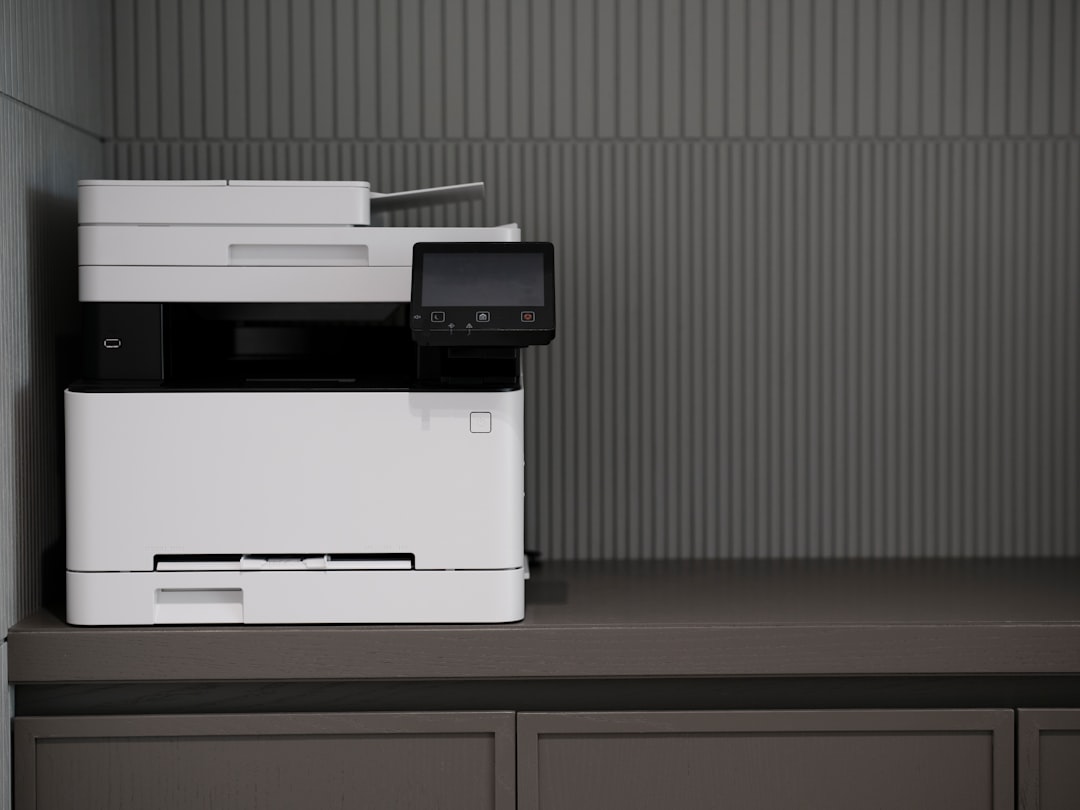
- High-Capacity Printers: Invest in or partner with a print shop that has commercial-grade printers that support automatic collating, duplex printing, and binding features.
- Document Management Software: Use tools like Adobe InDesign, Canva, or Microsoft Publisher for clean layouts with print-ready templates.
- Automation Tools: Tools like Zapier or Microsoft Power Automate can help you streamline proposal creation from CRM data to printable format.
Final Thoughts
Whether you’re creating a slick startup investment proposal or a corporate RFP response, the mechanics of collated printing and professional binding shouldn’t be an afterthought. Getting the workflow right—from document prep to binding—saves time, reduces errors, and results in materials that reflect the quality of your business.
By optimizing your printing process with collated sets, choosing the right binding method, and focusing on key finishing touches, you not only impress your client but also enhance your brand’s presentation. Thoughtful, efficient printing isn’t just technical—it’s tactical, and it can very well be the difference between a proposal that wins and one that winds up ignored.
Remember, the way you present your information speaks as loudly as the information itself.