


Fix HTTP and HTTPS duplicates by forcing every WordPress URL to load on HTTPS with one clean 301 redirect. Google recommends using redirects to send duplicate URLs to one preferred version [source: Google Search Central]. For WordPress, the easiest fix is using WP Force SSL, then checking that every old HTTP page lands on the matching HTTPS page.
TLDR: If your site opens at both http://example.com and https://example.com, search engines may see two copies of the same page. Install WP Force SSL, turn on SSL redirect, and test a few URLs. For example, if 1,200 visits per month still hit HTTP, a proper redirect can move close to 100% of those users to HTTPS without them noticing.
Why HTTP and HTTPS duplicates are a pain
Your site should have one main version.
Not two.
Not four.
Just one.
But WordPress sites often end up with pages like this:
http://example.com/about/https://example.com/about/http://www.example.com/about/https://www.example.com/about/
To humans, these look almost the same. To browsers and search engines, they are different URLs. That can split traffic signals. It can muddy analytics. It can also make your site look messy.
Honestly, it feels like WordPress should shout about this during setup. But it usually stays quiet. Then you find the issue months later while checking Search Console or crawling the site.

The simple fix: force SSL with WP Force SSL
The goal is simple.
Every HTTP URL must redirect to HTTPS.
Use a 301 redirect. That tells browsers and search engines, “This page has moved for good.”
The plugin I recommend for this job is WP Force SSL. It is made for this exact headache. It helps force HTTPS across your WordPress site without asking you to poke around scary server files at midnight.
That matters because one wrong line in an .htaccess file can break a site. Fun? No. Fast? Also no.
Step 1: Make sure SSL is installed
Before you redirect anything, your site needs a valid SSL certificate.
Check this first:
- Open your site with
https://. - Look for the padlock in the browser.
- Click it and check if the certificate is valid.
If HTTPS shows a warning, stop. Fix the certificate first. Your host may provide a free SSL certificate. Many hosts use Let’s Encrypt. Some activate it in one click.
If HTTPS works, you can move on.
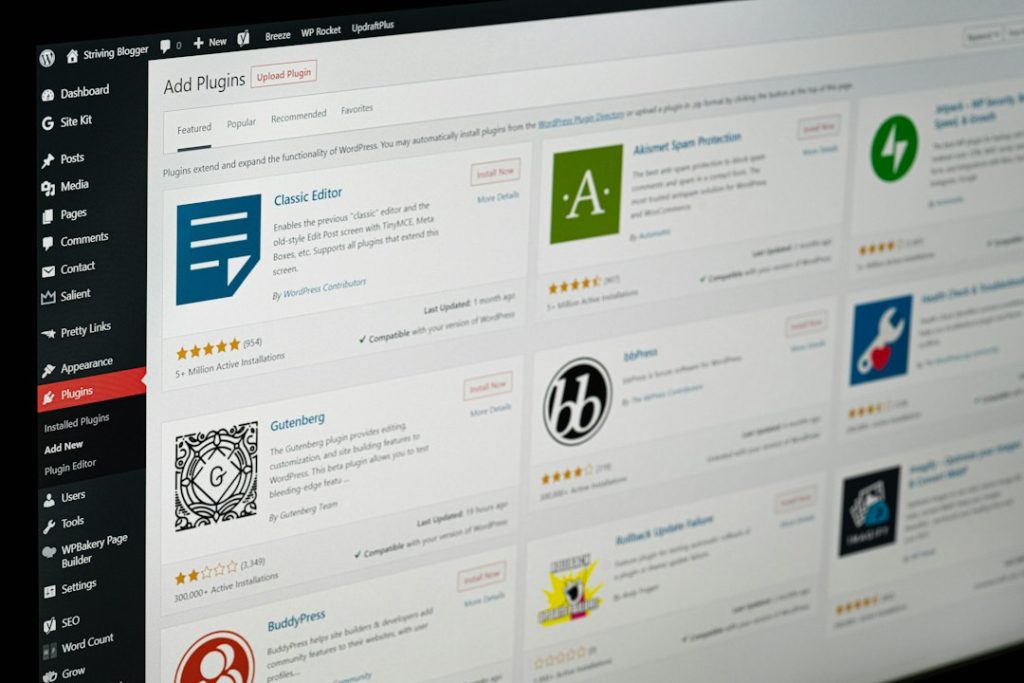
Step 2: Install WP Force SSL
Go to your WordPress dashboard.
- Click Plugins.
- Click Add New.
- Search for WP Force SSL.
- Install it.
- Activate it.
Once active, open the plugin settings. Turn on the option that forces SSL. This sends HTTP visitors to HTTPS.
That is the main magic.
No circus tricks. No giant setup wizard. Just a clean redirect.
Step 3: Set WordPress URLs to HTTPS
Now check your WordPress address settings.
Go to:
Settings > General
Look at these two fields:
- WordPress Address URL
- Site Address URL
Both should start with https://.
For example:
https://example.com
Not:
http://example.com
This tiny detail matters. If WordPress still thinks the site lives on HTTP, it may keep printing old links in menus, images, scripts, and feeds.
It drives me a bit mad when one old setting causes 40 tiny problems. But it happens.
Step 4: Pick www or non www
SSL is only part of the job.
You also need to choose between:
https://www.example.comhttps://example.com
Pick one. Stick to it.
Many sites use the non-www version. Some use www. Both are fine. The bad choice is using both.
Your final setup should look like this:
- Preferred:
https://example.com/page/ - Redirects from:
http://example.com/page/ - Redirects from:
http://www.example.com/page/ - Redirects from:
https://www.example.com/page/
Everything should land on one final URL.
Step 5: Test the redirects
Do not guess. Test.
Open a private browser window. Try a few old HTTP links.
Test these:
- Your home page
- A blog post
- A product page
- A contact page
Type the HTTP version by hand. Press enter. You should land on HTTPS in less than a second.
You can also use a redirect checker tool. Look for a single 301 jump from HTTP to HTTPS. Avoid long redirect chains like this:
http://example.com → http://www.example.com → https://www.example.com → https://example.com
That is messy. It wastes time. A clean setup should need one jump when possible.
Step 6: Fix mixed content
Mixed content means your page loads on HTTPS, but some files still load from HTTP.
Common troublemakers include:
- Old image links
- Theme files
- Custom scripts
- Old page builder content
- Hardcoded links in widgets
WP Force SSL can help you spot SSL issues. Still, you should check key pages in your browser. If the padlock is missing or broken, open the browser console. It will often show the HTTP file that caused the mess.

Step 7: Update your sitemap and analytics
After the redirect works, update the tools around your site.
- Submit the HTTPS sitemap in Google Search Console.
- Check that analytics tracks the HTTPS version.
- Update important backlinks where you can.
- Change social profile links to HTTPS.
- Update email signature links.
This is cleanup work. Boring, yes. Useful, also yes.
Quick checklist
- SSL certificate works.
- WP Force SSL is installed and active.
- HTTP redirects to HTTPS.
- WordPress URLs use HTTPS.
- Only one www or non-www version is used.
- No mixed content warnings appear.
- Sitemap and analytics use HTTPS.
Once this is done, your WordPress site has one clean home. Visitors feel safer. Search engines see the right version. Your reports make more sense. Best of all, those annoying HTTP duplicates stop hanging around like uninvited guests.