



The safest way to watch unblocked movies on a school network is to use approved, legal, low risk sources that fit the lesson. School filters exist for real reasons: student safety, bandwidth control, copyright rules, and classroom focus. Fair use can allow short clips for teaching, but it depends on purpose, amount used, and effect on the market [source: U.S. Copyright Office].
TLDR: Use school approved platforms first, not random mirror sites or “free movie” pages. For example, a teacher showing a 6 minute public domain clip during a 45 minute history class is very different from streaming a full new release during lunch. If 30 students stream HD video at once, that can easily use more than 75 GB in one period. Ask IT before you need the movie, because last minute fixes are where things get annoying.
1. Check if the movie is actually allowed
“Unblocked” does not mean “okay to use.” It only means the network lets it load. That is a big difference.
Start with the school’s media policy. Some schools allow full films for class use. Others allow clips only. Some ban entertainment streaming during school hours, even if the site itself is legal. This can feel strict, but it protects teachers and students from messy copyright issues.
Look for these safer options first:
- School library databases with licensed video collections.
- Public domain films from trusted archives.
- Educational streaming platforms approved by the district.
- Teacher supplied clips uploaded through official tools.
- Documentaries licensed for classroom viewing.
Honestly, it feels like half the trouble starts when someone clicks a random “watch free” result and then wonders why pop ups take over the screen. If a site looks sketchy, it probably is.

2. Think about bandwidth before pressing play
Video eats bandwidth fast. A short clip is usually fine. A full HD movie shown in several classrooms at once can slow down the whole network.
That lag affects more than your movie. It can break online tests, attendance systems, cloud documents, and learning apps. It drives me crazy that one 90 minute stream can make a simple page take 10 seconds longer to load for everyone nearby.
Before showing a movie, ask a few practical questions:
- Will one teacher stream it, or will every student stream their own copy?
- Is HD needed, or will standard quality work?
- Can the clip be downloaded legally in advance through an approved service?
- Is there a better time to show it, away from testing windows?
If students are watching on their own devices, use short clips. Give clear start and stop times. This keeps the class focused and avoids turning the period into a buffering contest.
3. Avoid bypass tools and risky sites
This part matters. Do not use VPNs, proxy sites, browser tricks, or mirror pages to get around school filters. That can break school rules. It can also put student data at risk.
Many “unblocked movie” sites are full of ads, fake buttons, malware, and trackers. Some ask users to install extensions. That is a red flag. A movie is not worth a stolen login or infected device.
A safer rule is simple: if the school did not approve the platform, do not use it for class. If the site is blocked, ask why. Sometimes it is a mistake. Sometimes it is blocked because the site collects data, shows adult ads, or hosts illegal copies.
Teachers can often request access through IT. Send the link, the title, the class, the reason, and the date needed. Give at least a few school days. Last minute requests are where everyone gets grumpy.
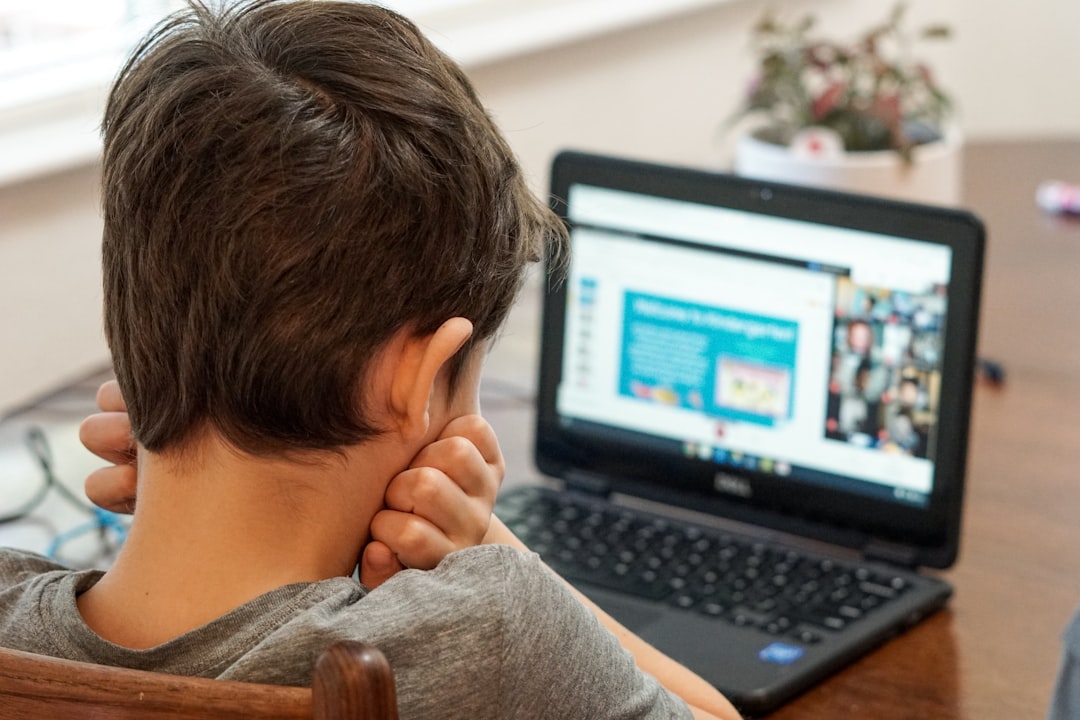
4. Match the movie to the lesson
A movie should not be filler. Students notice. Admins notice too.
Use video with a clear purpose. Maybe it shows a historical event, explains a science idea, supports media literacy, or introduces a book setting. Keep the viewing active. Add a note sheet, pause points, or a short discussion.
Good classroom movie use often looks like this:
- Preview the content before class.
- Explain the reason students are watching.
- Show only the needed section when possible.
- Pause for key moments and ask questions.
- End with a task such as a response, quiz, or debate.
This also helps with parent concerns. If someone asks why a film was shown, you can point to the lesson goal instead of saying, “We had extra time.”
5. Consider age ratings, access, and privacy
Even approved movies need review. Ratings help, but they do not tell the whole story. A PG film may still include scenes that do not fit your class. A documentary may show violence, language, or sensitive topics.
Check captions too. Captions help students with hearing needs, language support, noisy classrooms, and note taking. They are not a bonus. They are part of good access.
Privacy is another issue. If students need to make accounts, enter emails, or accept tracking cookies, slow down. Ask whether the tool follows school rules. Younger students often have stricter protections. Do not make students sign up for a random site just to watch a clip.
A better way to handle unblocked movies
The best setup is boring, and that is the point. Use a short list of approved video sources. Keep backup links. Test the movie before class. Ask IT for help early. Tell students exactly what to watch and why.
For students, the rule is even simpler: if a movie site is blocked, do not hunt for a workaround. Ask the teacher. Use the assigned platform. Keep personal streaming for home.
Unblocked movies can support great lessons when they are legal, safe, and planned. They become a problem when they turn into random streaming, filter dodging, or risky downloads. Keep it clean, keep it useful, and the network will thank you.